It exists a set of black boxes which provide different functionalities in order to fulfill the requirements of the normal user of creaMaracasVisu library. In fact, some of the boxes have several interactive options that help the user to complete a better visualization of medical images. Following this introduction, different boxes included in the library are explained in detail with the most important functions provided to the user.
Interface/Interaction description
-
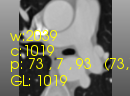
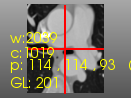
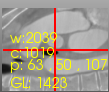
creaMaracasVisu::ViewerNV - The ViewerNV actually includes several different viewers, summarized in this diagram, depending on the requirements of the user.
-
creaMaracasVisu::ShowNPoints - ShowNPoints permits to draw points in a 3D volume based in the 2D planes.
creaMaracasVisu::ViewerNV
The ViewerNV has different types of Viewers (in the next list) depending in the requirements of the user.
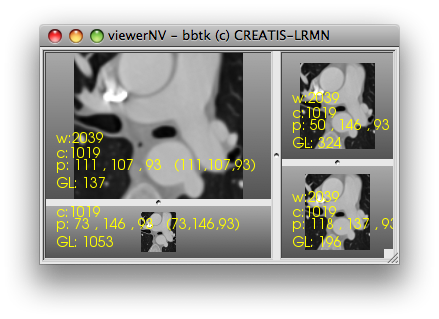 |
You can have up to four windows of the same image with different types of viewers. |
Types of viewers
The types of Viewers that the user can select just with the type number.
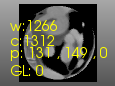
(-1) XY no axes
|
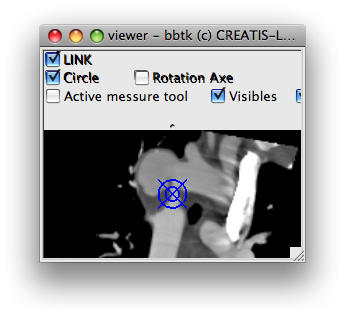
(0) XY axes
|
(1) ZY axes
|
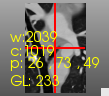
(2) XZ axes
|
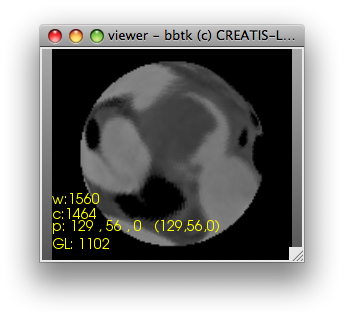
(3) Plane
|
(4) Sphere projection
|
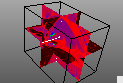
(5) Volume Rendering
and
Surface Rendering
|
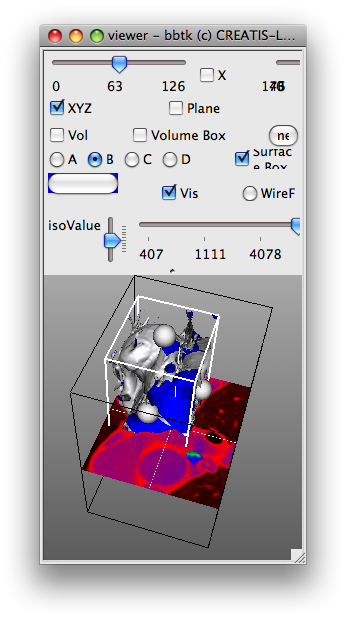
(6) MPR 3D
|
Viewers description
Description of all the Viewers present in the table.

creaMaracasVisu::ShowNPoints
This box permits to draw points in a 3D volume based on 2D planes. That means that point selection is done in a 2D Viewer, then, by clicking on the Add Point button, it is possible to visualize it as sphere in the 3D Viewer. It is possible to interact with the Viewer3D in the same way as described here
| (image of axes to decide point position) |
Selecting new point position in 2D views
|
| (image of menu in the left ) |
Clicking in New Point button
|
| (image of the viewer 3D result ) |
Result view
|
creaMaracasVisu::Contours
The contours interaction is implemented in the creaMaracasVisu classes following the description of the Library Documentation. However, it is important to know the basic interaction tasks that can be made using the actual module. In the next table are presented the taks that can be accoplished as for example to edit and to move an existing contour in the scene.
Note: Remember that it is necessary to tell the Contour module where the contours will be painted. Typically the Viewers and interactors module of creaMaracasVisu is used for this objective. For this reason, some of the operations realized over the image in which the contours are drawn depend in the Viewer used in the application. For example, in creaContours we can add and manage several contours over a Viewer2D, but the tasks such as Zoom, Pan, etc. made over the image, totally depend in the Viewers module. To see more details of the interaction with the viewer go to Viewer2D documentation.
| (image of contours) |
Contours interaction description
|